Step-by-Step DIY Window Film Installation Guide
Installing window film yourself can be a rewarding project. It helps reduce glare, improve privacy, and even save on energy costs. Follow this step-by-step guide to achieve professional results.
Gather Your Materials
Before you start, make sure you have all the necessary tools. You will need:
- Window film of your choice
- Spray bottle with soapy water
- Squeegee
- Utility knife
- Lint-free cloth
- Measuring tape

After cleaning, inspect the window for any remaining dirt or imperfections. Even small particles can cause bubbles under the film. Make sure the window is completely dry before moving on to the next step.
Measure and Cut the Film
Measure the dimensions of your window carefully. Cut the film slightly larger than the window to allow for adjustments. Use a utility knife to make precise cuts.

Apply the Film
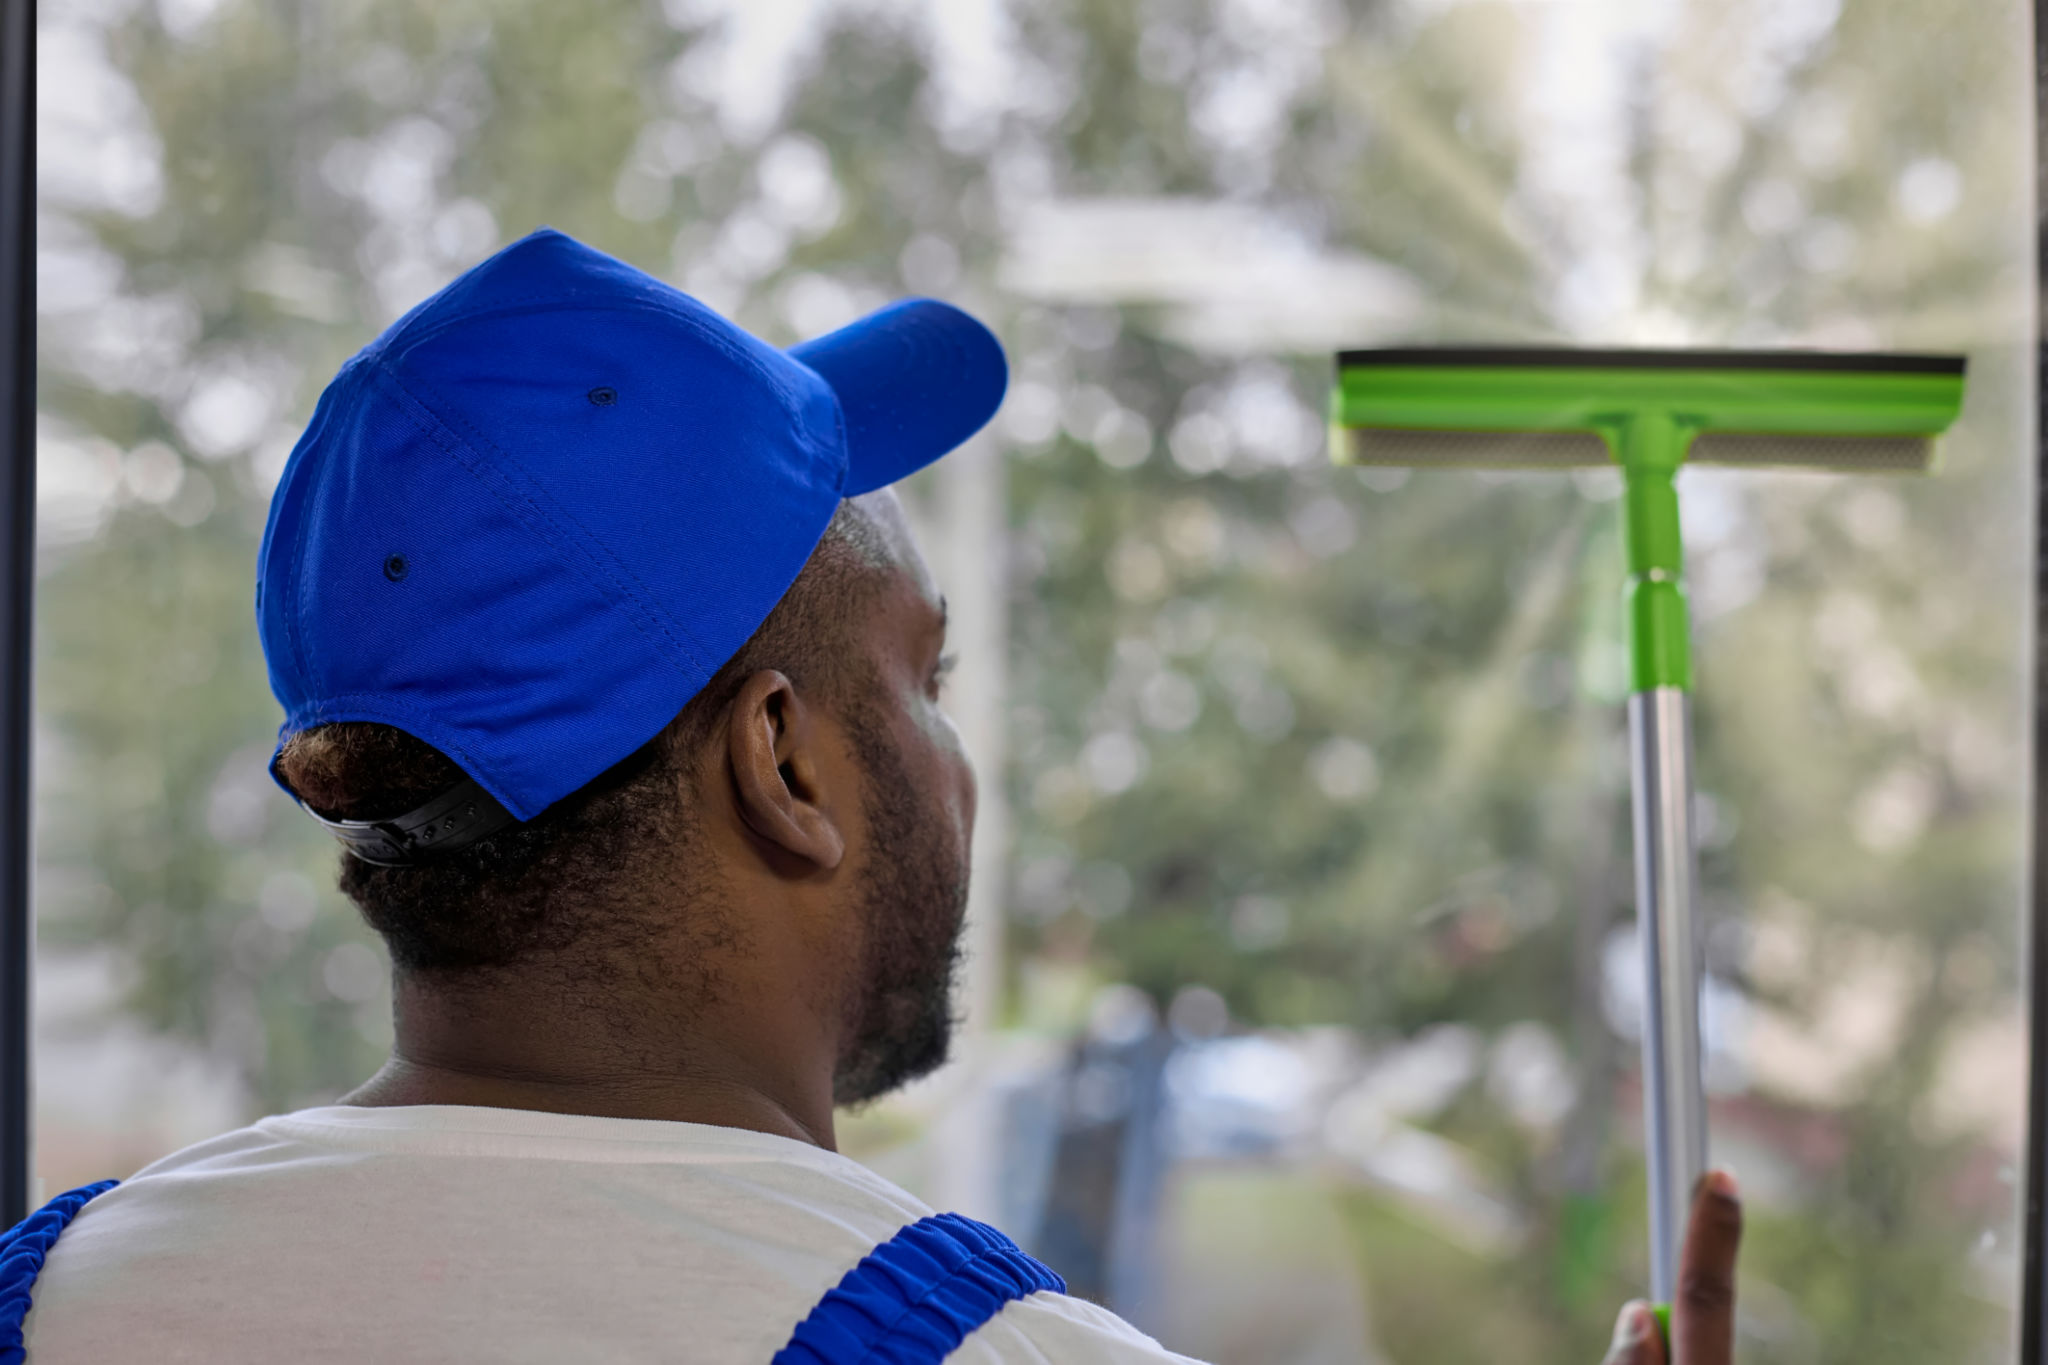
Peel the backing off the window film. Start applying the film from the top of the window, working your way down. Use the squeegee to press the film against the glass, removing any air bubbles as you go.
Smooth Out the Film
Once the film is in place, use the squeegee to smooth out any remaining bubbles. Work from the center of the film towards the edges. This will help ensure a smooth, professional finish.

Be careful to make straight, even cuts.
Final Inspection
Inspect the window one last time. Make sure there are no bubbles or imperfections. If you find any, use the squeegee to smooth them out.
Congratulations, you have successfully installed window film! Enjoy the benefits of reduced glare, improved privacy, and energy savings.